

Share this article:


Not so long ago, the basic skills needed for repairing and refurbishing – such as sewing, knitting, woodworking and metalworking – were taught in schools. But teaching these crafts is out of fashion. Anyone over the age of 40 today could have used these skills to make, presents for their parents and would have known how to handle small repairs; that fashion is not always readymade by big brands, but that it is possible to create and sew our own clothes, adapt and alter them, repair them, or replace a button.
For the younger generations today, this knowledge is nearly lost. In a UK survey every fourth respondent said they couldn’t sew on a button; every second couldnt repair a hole or fix a seam. Designer and founder of “Fashion Revolution” Orsola Castro knows why: “because of ubiquitous fast fashion a whole generation has lost these abilities”. In the 1980s, followers of the post-punk scene still expressed their individuality by designing and adapting their own clothes. These days, there are prefabricated versions of this streetwise trendy “look” at every fashion discount store.

Consumerism – a vicious cycle
It is difficult to escape the vicious cycle that has been set in motion by the modern consumer society. First of all, cheap products made it unnecessary to make do and mend. Next, we lost our respect for things and the necessary knowledge to maintain them. Now we have lost all our inhibitions about buying greater numbers of new products and using them for ever shorter periods of time. This throwaway culture now is evident in the “fast fashion” phenomenon and in many other everyday products such as electronics, interior design, toys and household goods.
Consumerism is killing our planet. It’s heating up the climate, using too much fossil energy, destroying habitats and landscapes and peoples livelihoods. It is not only nature that is paying the price for this, but the millions of people working in often life-threatening and exploitative conditions.

But we can MAKE CHANGE NOW
People in sewing- and repair cafes, DIY communities, urban gardens, makerspaces and fab-labs from around the world are proving that many people have the desire to create something with their own hands – and that it is easier to do it, if we share the resources, materials and tools for this in communal spaces.
Anyone who once crafted a table or a bed himself will think twice before buying a flimsy flat pack from a Swedish furniture store. Anyone who has knitted a jumper out of real wool will avoid cheap polyester knitwear. And those who have planted a few lettuce heads in their garden, cherished them and defended them against snails, will be reluctant to throw food away – because they know how hard it can be to grow.
If you have made something, you will buy more consciously the next time, whether it’s food, fashion or mobile phones. Your experience of creating an original, will lead you to reflect on your consumption patterns and you will be more likely to find a way to repair, care for and share your goods before throwing them out. Its essential that we share this culture in our communities and make these spaces where skills, knowledge and experiences are shared an essential part of our urban life.
Making meets tech
We are not advocating a return to a time before modern technology where we would produce everything ourselves. This wouldn’t be feasible – but the maker community that has developed in fab labs and maker spaces around the world proves that DIY, the internet and the latest tech are part of the same movement. Modern technologies can connect us with lots of tutorials, knowledge and experiences that can be shared widely with communities around the globe. There are online communities such as Shareable and Instructables that provide us with easy to follow guidelines on how to make and share things. Follow our Instagram channel @makesmthng for further inspiration and to connect with makers around the globe.
These offline and online communities are invaluable platforms for acquiring and sharing knowledge and skills. Thus, they counteract the loss of craftsmanship – and throw a spanner in the works of the throwaway society.

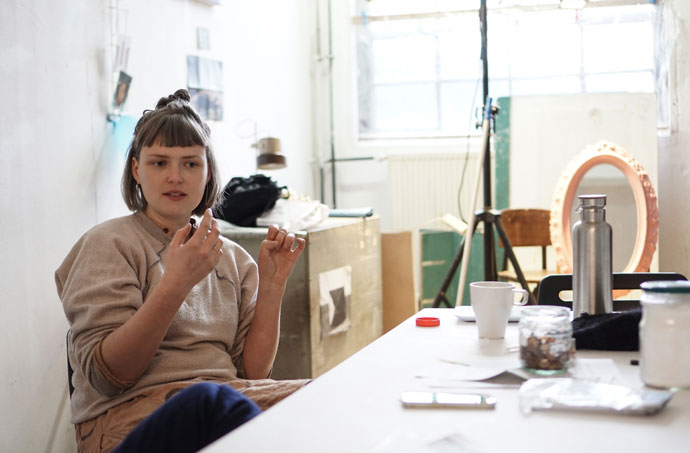
Lu Yen Roloff is the comms lead for the MAKE SMTHNG campaign at Greenpeace. She firmly believes in the power of connecting makers from around the globe to help fight overconsumption. She is totally in love with all the creative ideas from the movement and pledges to spend quieter times to DIY the hell out of the dark winter days! You can follow Lu Yen on Instagram @i.do.lu, Facebook luyenroloff or Twitter @lyroloff


 We tend to forget that we not only buy products but also the packaging they come with. It is not the company paying for the packaging – it is YOU. And you then pay the local waste management facility fees to collect that packaging in your rubbish collection. So considering that a proportion of the price I pay is solely for the packaging I might as well make use of that if I can. A good example for this are mason jars. You can obviously go out and buy all the fancy mason jars but to be honest you probably get them with most of your food shopping already – if you like it or not. So make use of them as food containers, for DIY cosmetics, for candles etc. Or collect them and give them away via an online marketplace. Gift them to a kindergarten for arts and crafts, they also appreciate empty toilet paper rolls, tins, and corks. Think outside the box and you will end up with tons of great ideas on how to reuse mason jars.


 5. Using straws made of stainless steel or glass
 8. Make your own non-toxic cleaning products
 10. DIY dishwasher powder recipe


 What to buy


